Year 7 Tutorials

Back

Pixlr Starter Guide

Tools in Pixlr

Designing Logos

The website you will be using during graphic design is called Pixlr E - this is a professional graphic design program that will allow you to create detailed graphic designs. Click the Pixlr Editor image to take you to the website.
Today, you are going to be using Pixlr to design several different logos, follow the tutorial below to help you out!
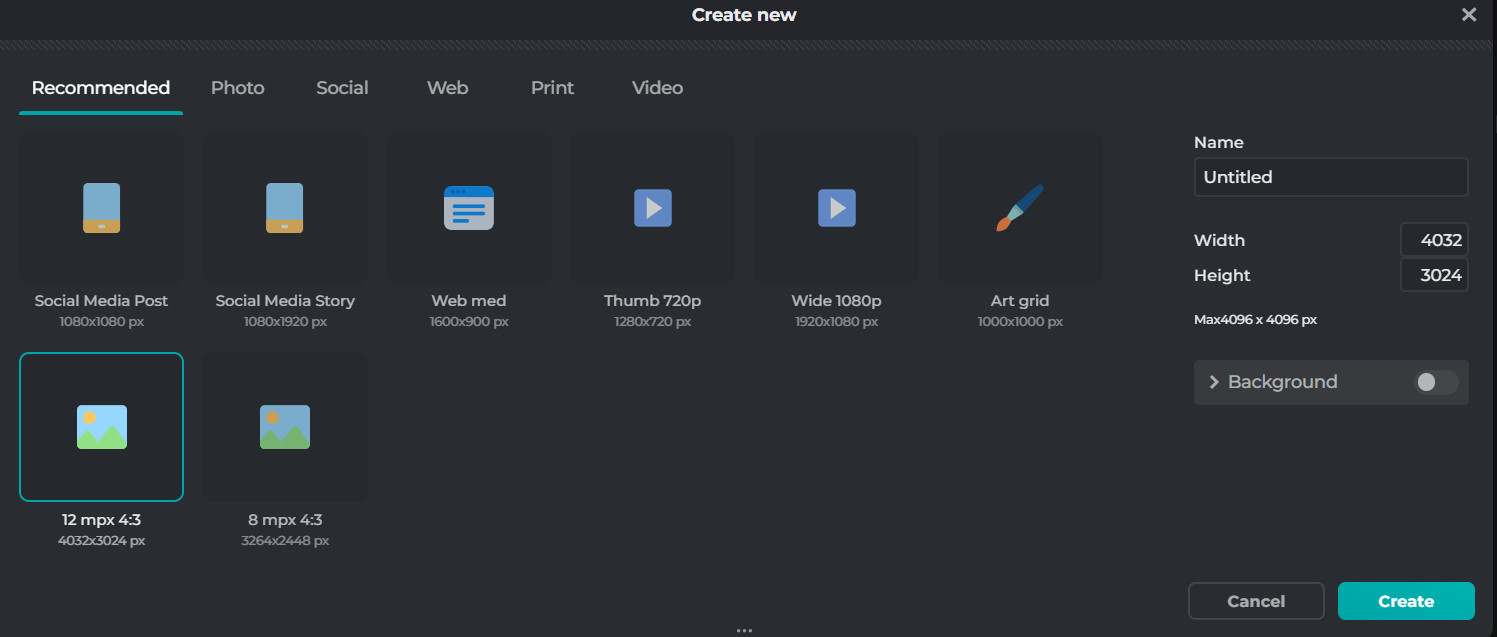
Start a new document by clicking the 'Create New' button.
A good one to use is the '12mpx 4:3' option shown.
Then click 'Create'
This page is the main page of pixlr, you have tools you can use down the right hand side. Hover over each tool to see what it does!
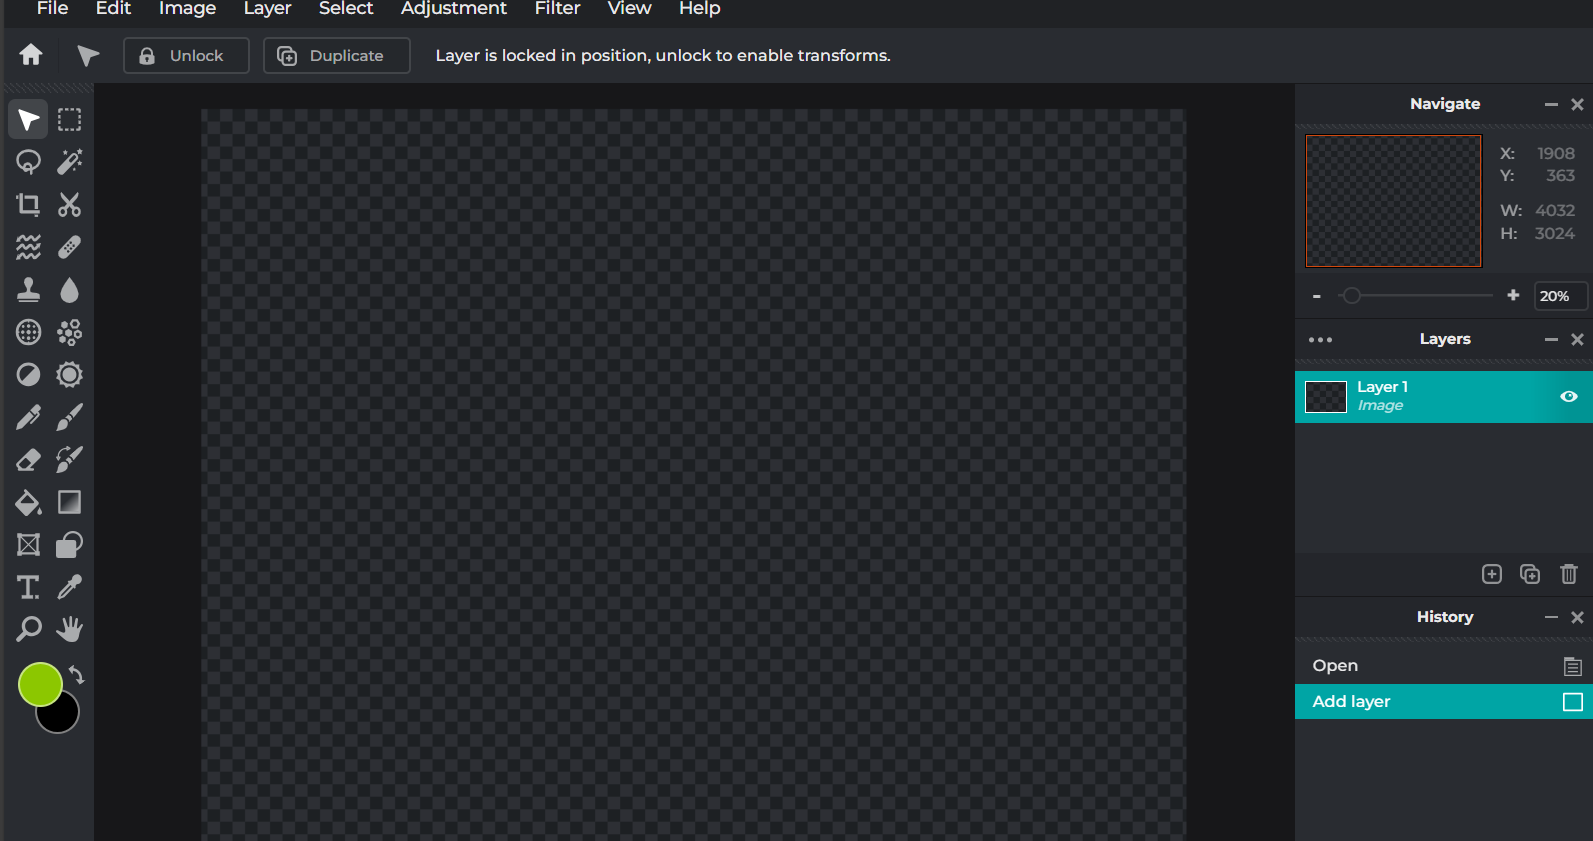
Shown below are the tools we are going to use this lesson. To start designing your logo, choose a shape that will be it's background. Select the shapes tool and choose a shape.
Shown below are the tools we are going to use this lesson. To start designing your logo, choose a shape that will be it's background. Select the shapes tool and choose a shape.
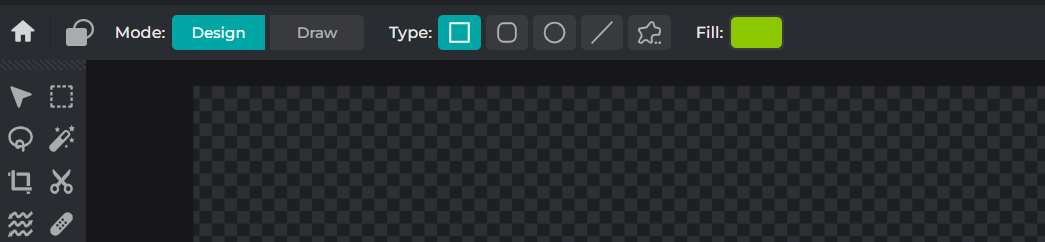
When you select the tool, you will see more options appear at the top. You can draw basic shapes, or select the 'blob' shape to see more shapes.
Clicking on the green box will let you choose your shape colour.
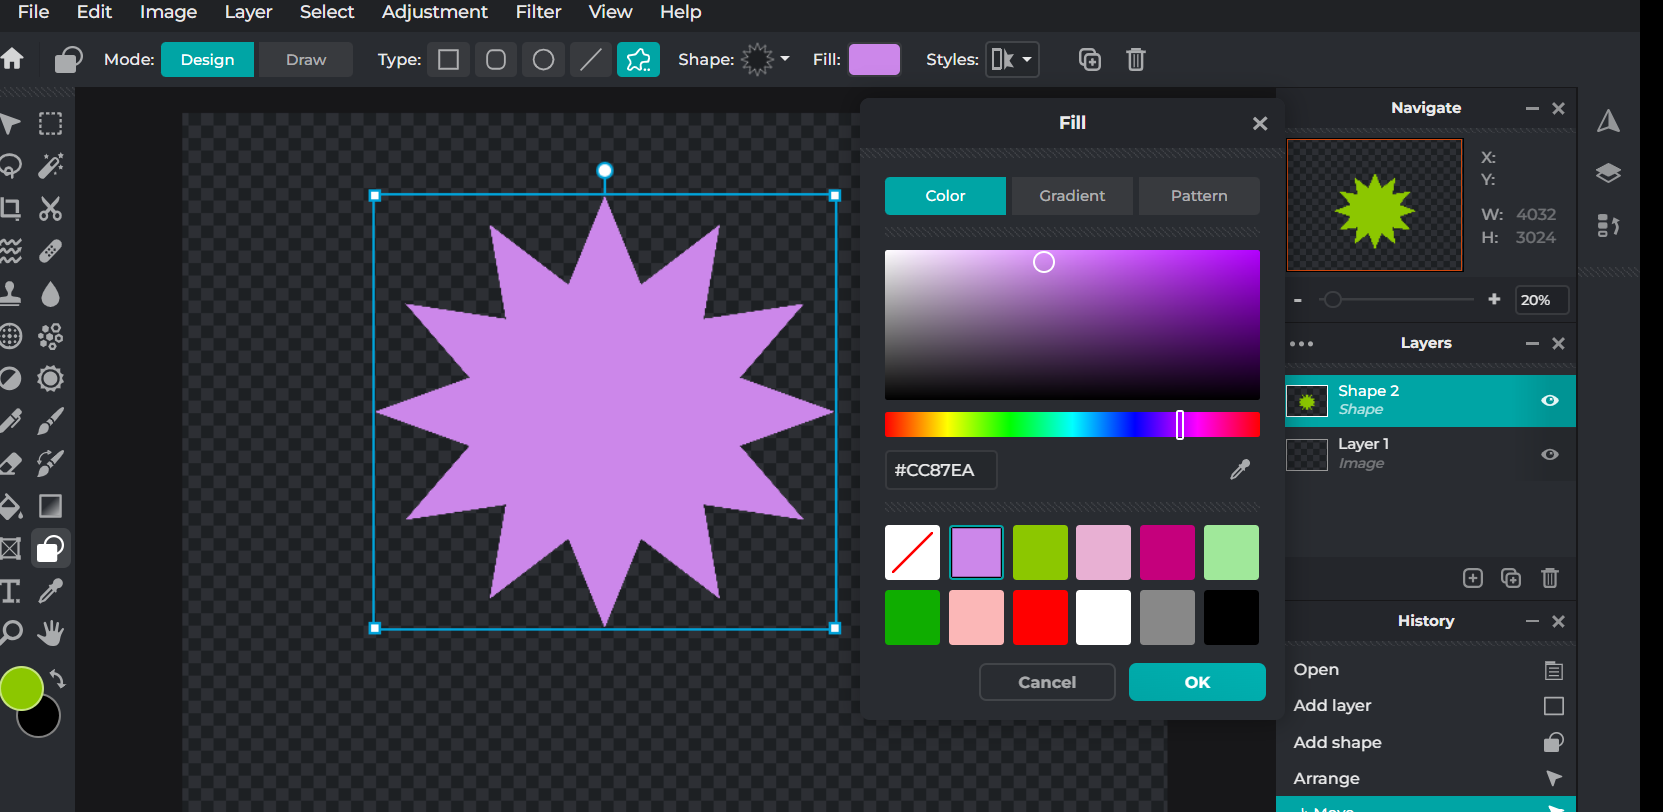
Notice how the layers section on the right hand side now has a new layer, each item you add to this design will be on a different layer.

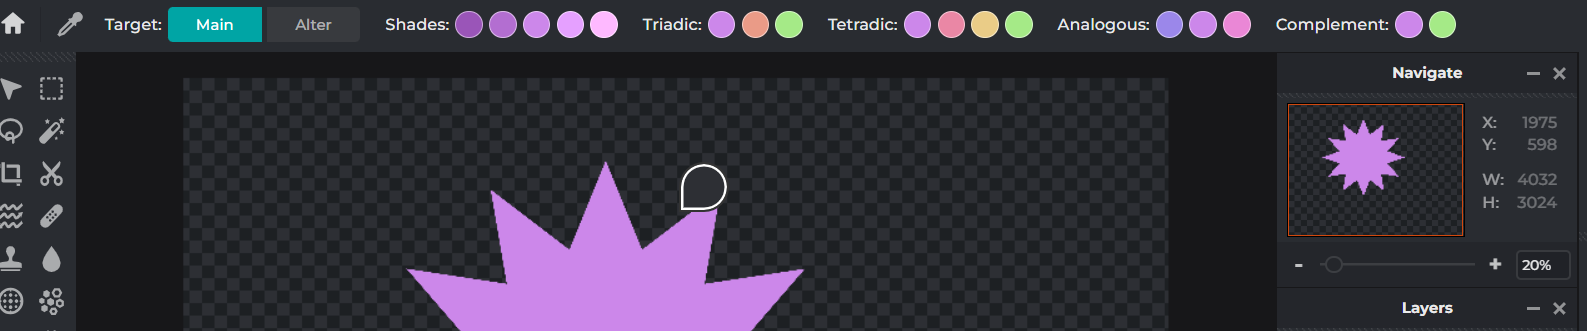
Once you have chosen your main colour, use the 'colour picker' tool (see the labeled tools above) to see colour schemes for your colour. It will tell you the monochrome (shades), complementary, triadic, and analogous colour schemes - this will help you with your future work!
Click on the coloured circles to select and use that colour.
You can also use the 'colour change' circles on your tool bar to edit the colour further.
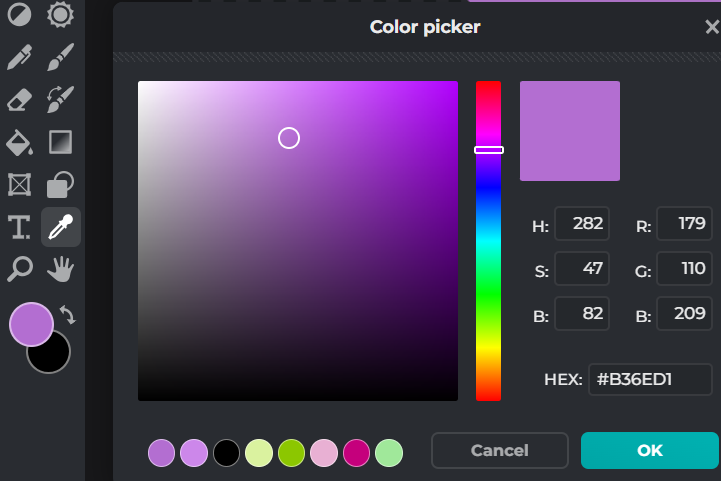
It will show a gradient box, anywhere you move the circle with give you different shades and tints of the selected colour.
You can slide the colour bar up and down to change to a different hue.
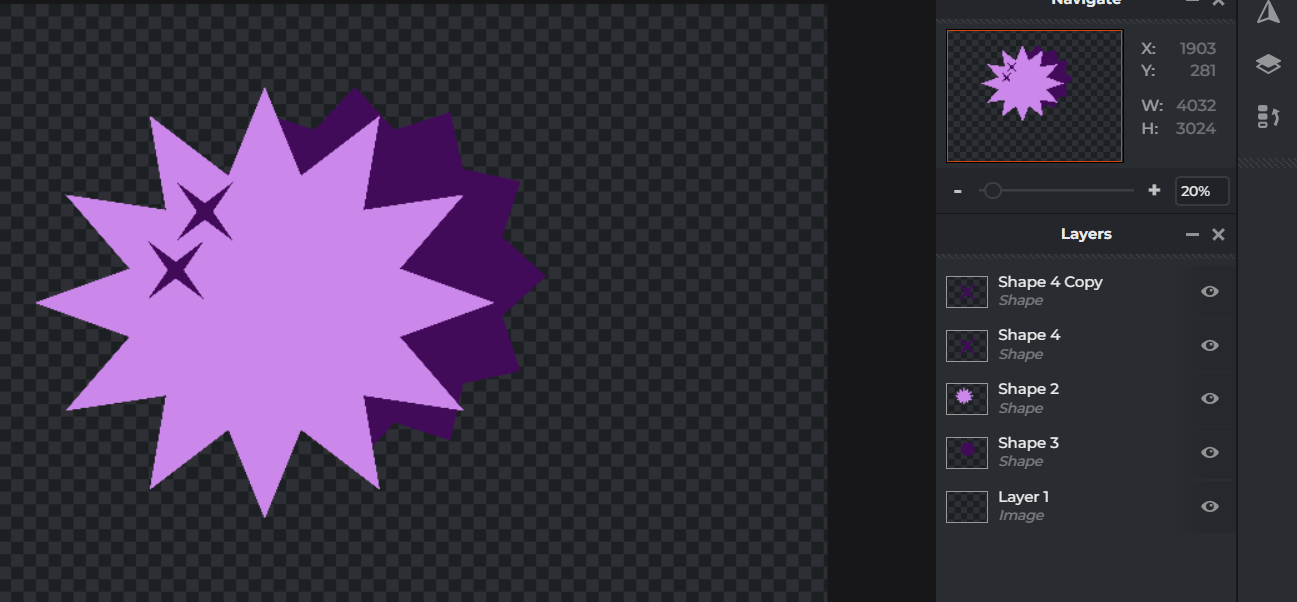
You can add in other shapes to make your design look more interesting! Look at how adding more shapes adds more layers. You can change the order they are 'stacked' by dragging each layer up and down.
Select the text tool (it looks like a 'T'). Click on your page to start adding text. You'll see more options appear at the top to change the way the text looks.
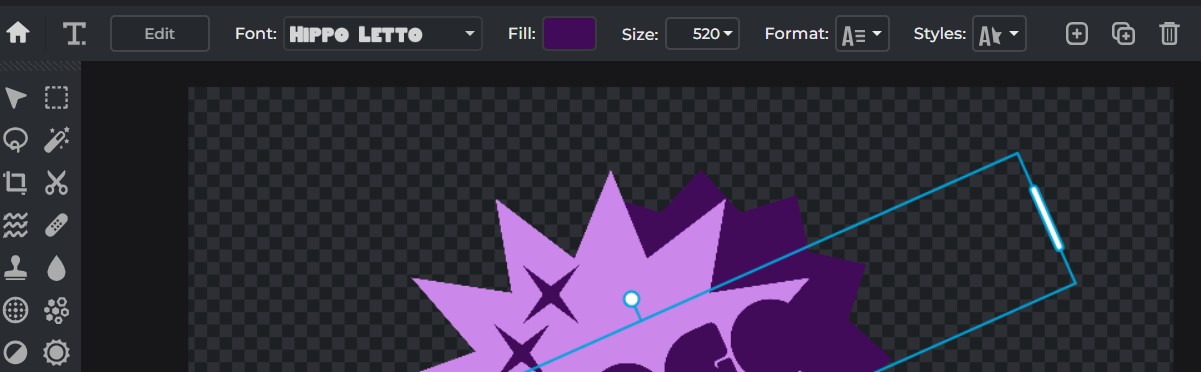
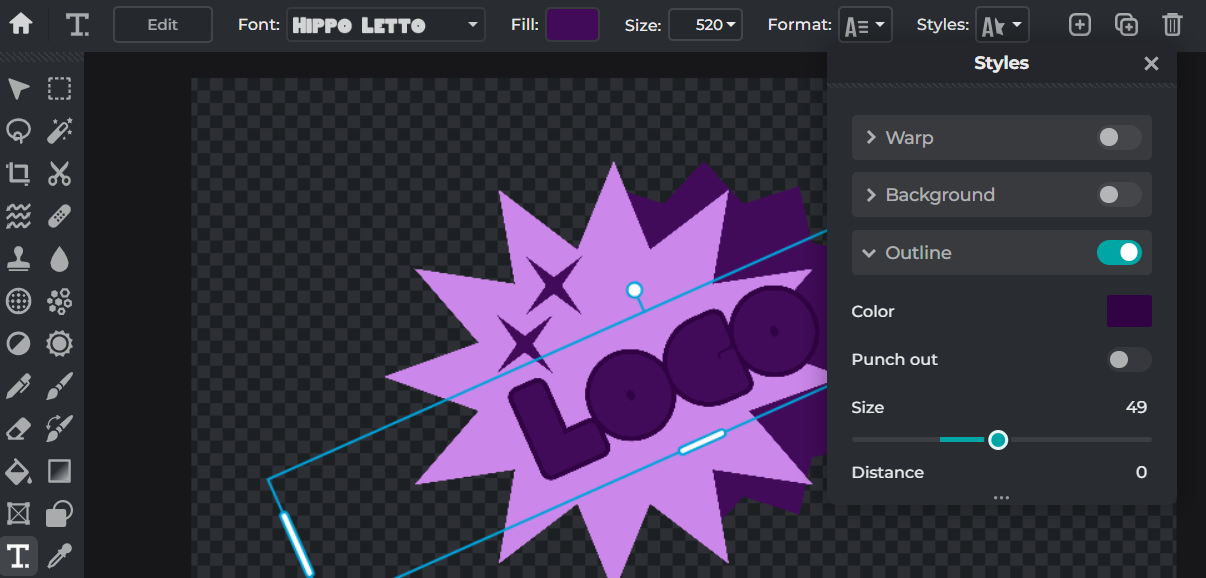
You can change the colour using 'fill', and add extra fancy effects by using the 'styles' option!
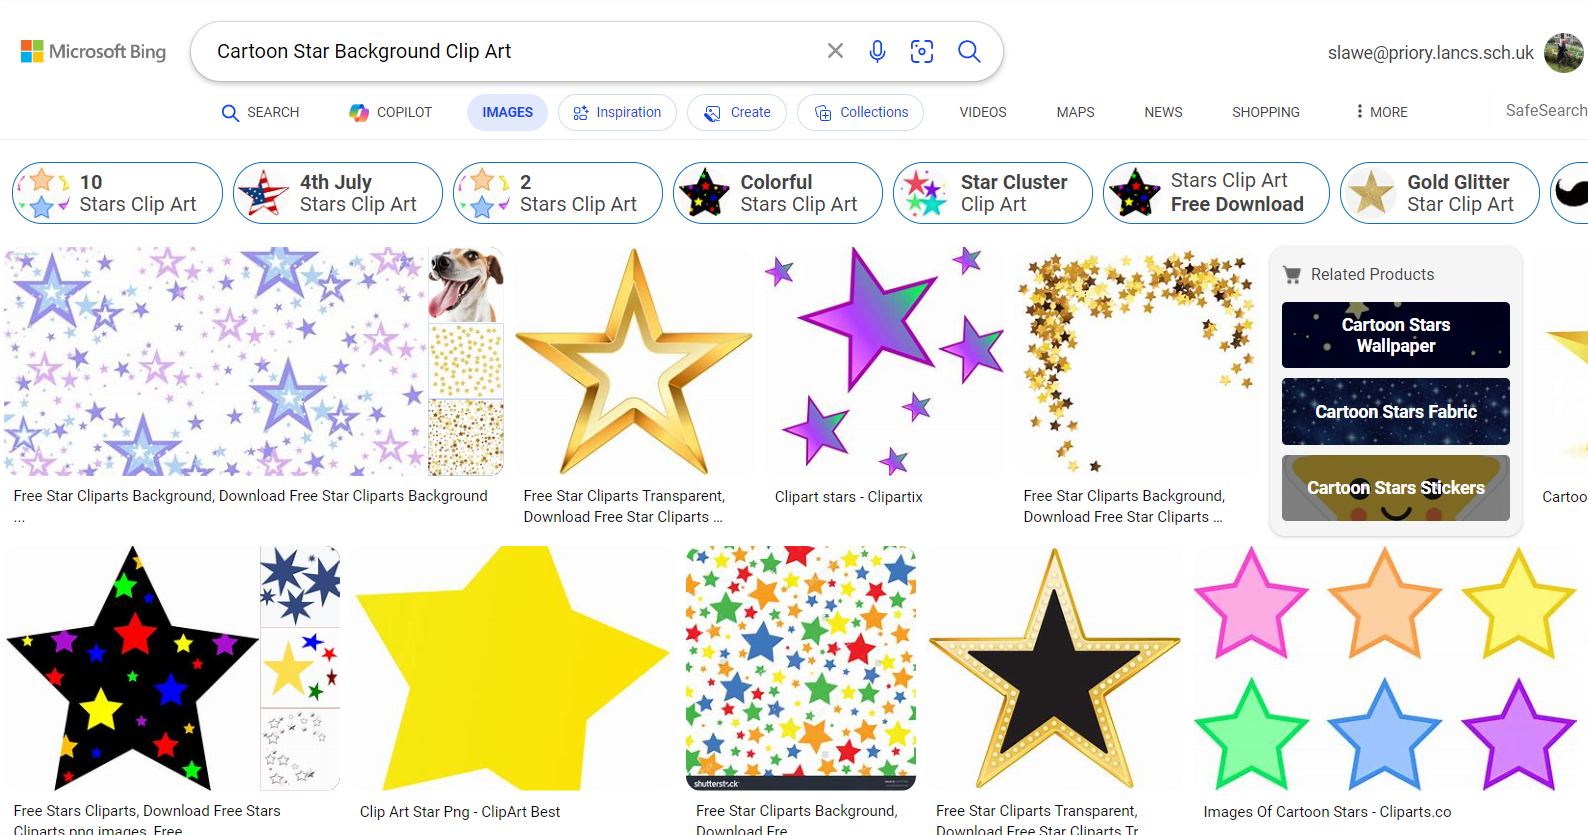
If you want to add extra decorations to your logo, you can copy and paste images from an internet image search. Try and keep your images in the same visual style as the logo you have designed, and remember - it still has to fit your chosen colour scheme!
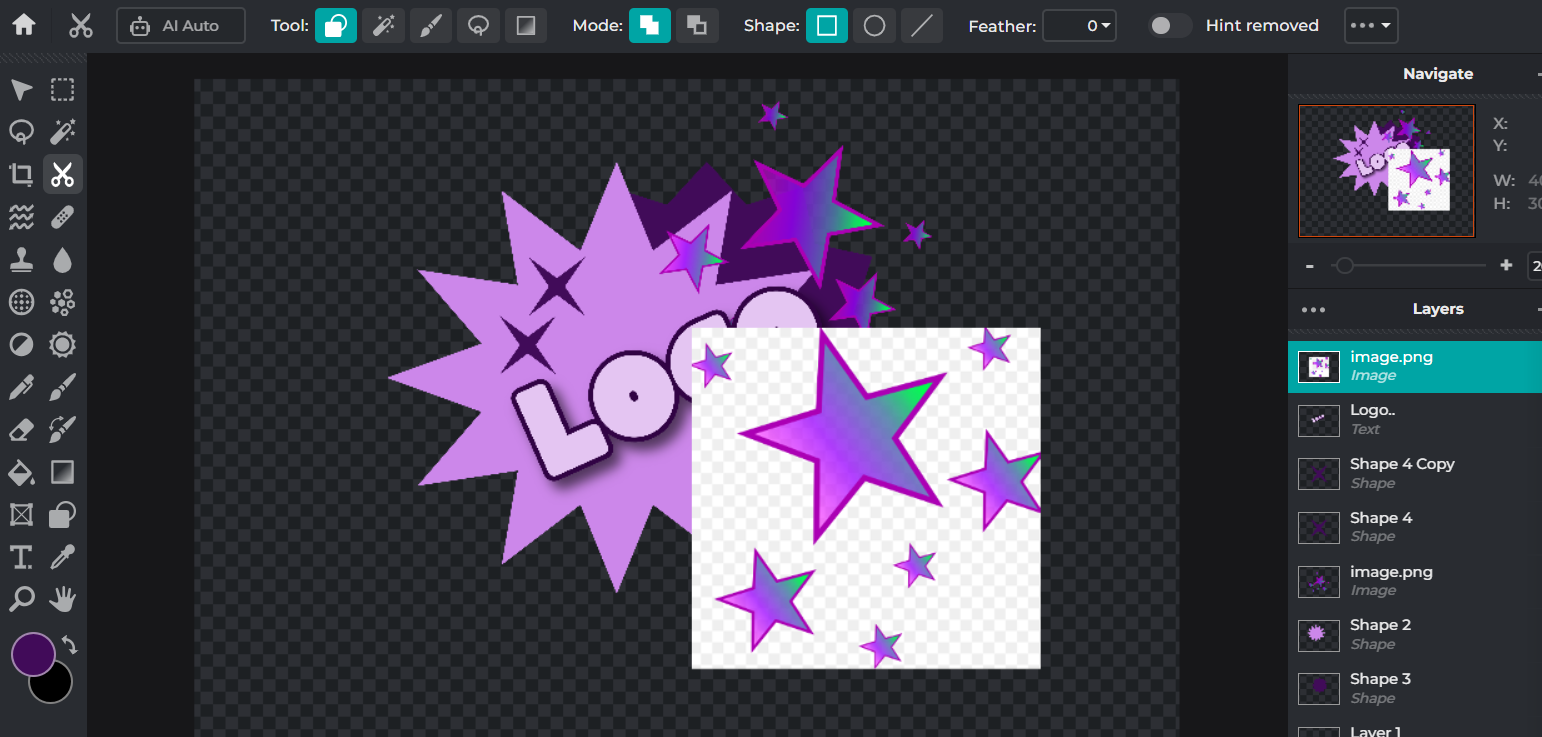
When you paste it into pixlr, you can use the cutout tool to remove the background so that it fits into your design.
Make sure you have your picture layer selected, and your cutout tool turned on. Use the AI Auto button, and it should remove any background. It's not perfect, but it will work for most images. If you want to be more precise, have a look at the guide for using this tool. (Link to follow)
When you are done with your design, you need to save it properly so that you can open it in future lessons.
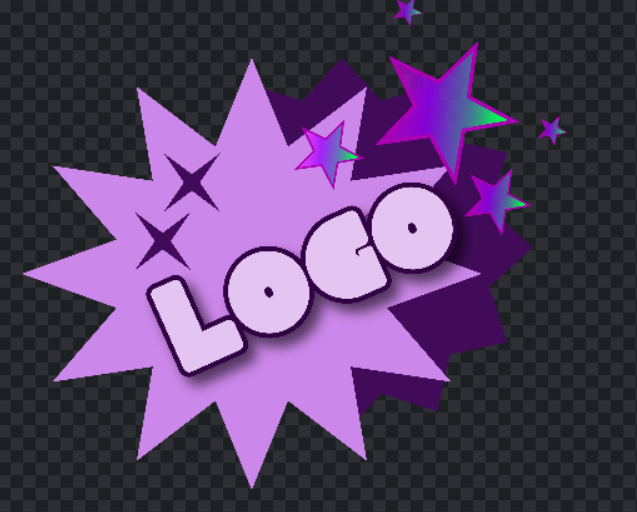
This is my finished logo design that I am going to save.
Make sure you save it in a place that you can find it again!
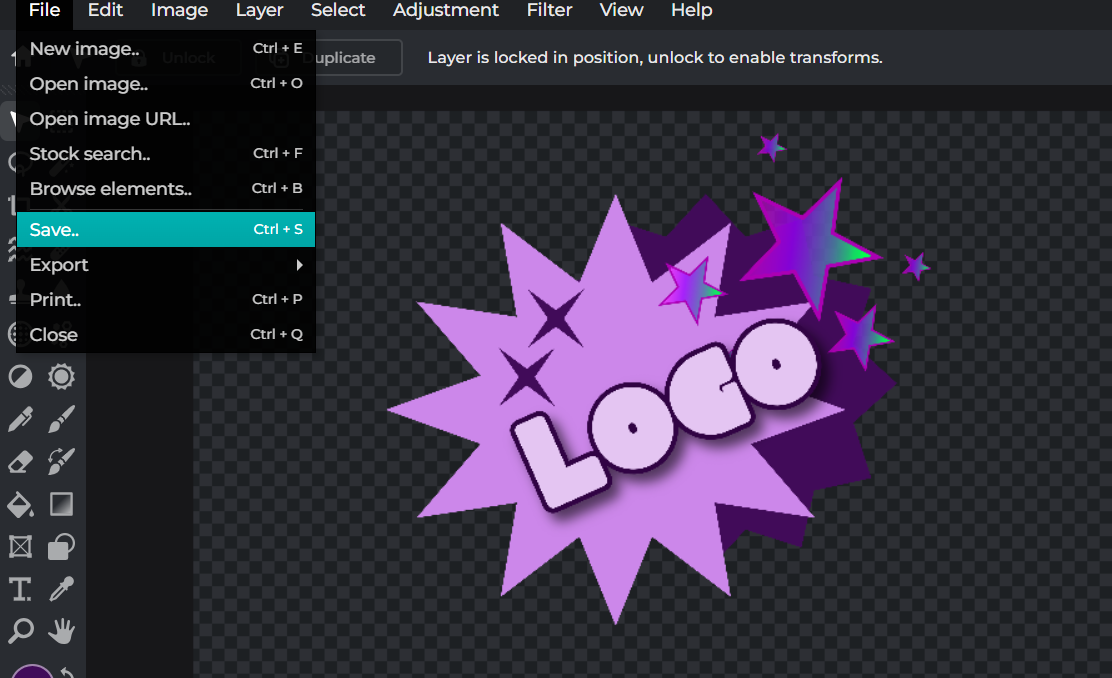
Click 'file' at the top of the page, and then 'save'
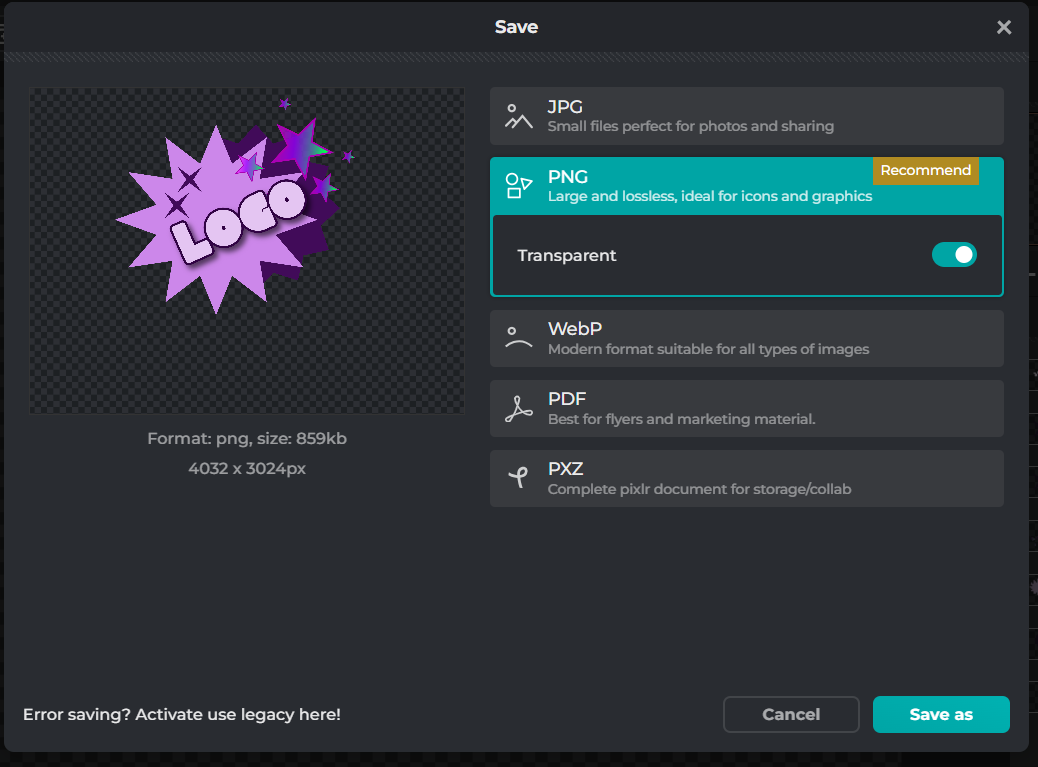
Select the PNG option, and click 'save as'
Make sure you click your one drive (you'll see your name, or the words 'one drive' next to the blue cloud icon. Then select either your documents, or your Technology folder.
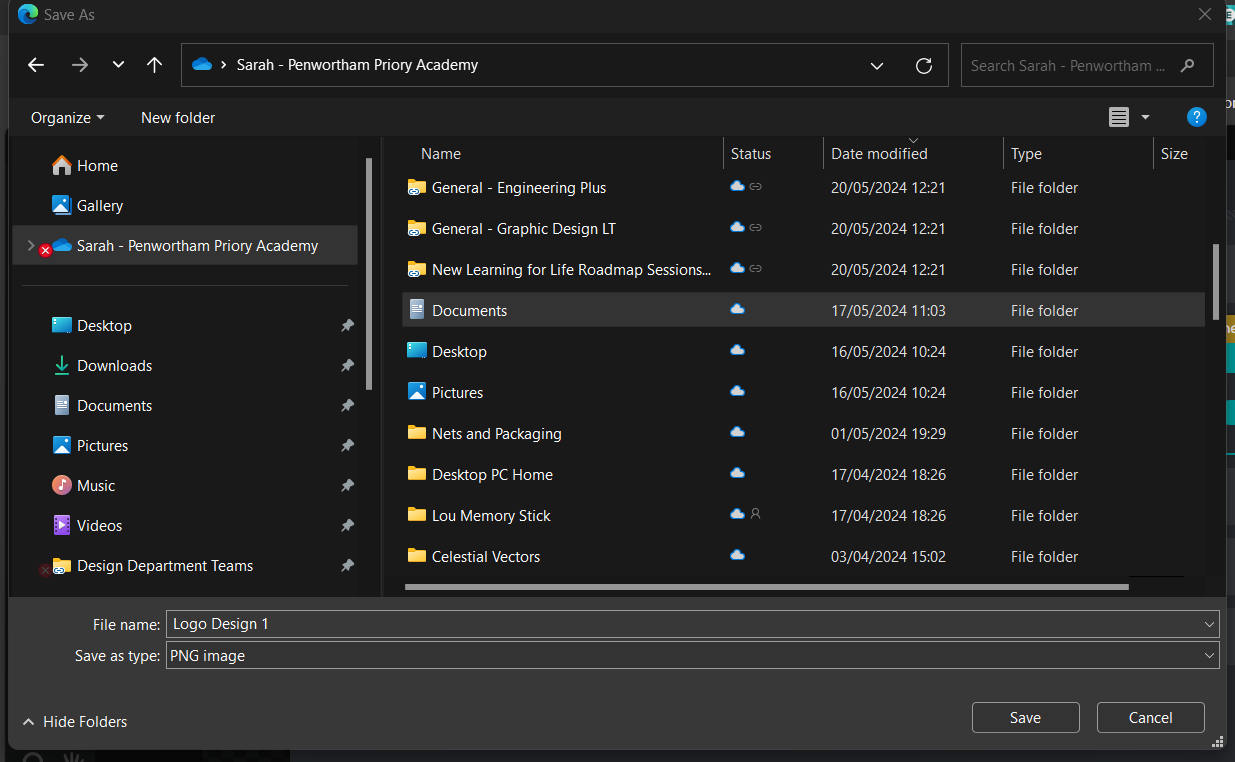
Finally, give your file a sensible name so that you can tell what it is. I've chosen to call mine 'Logo Design 1'. Then, you're all done!